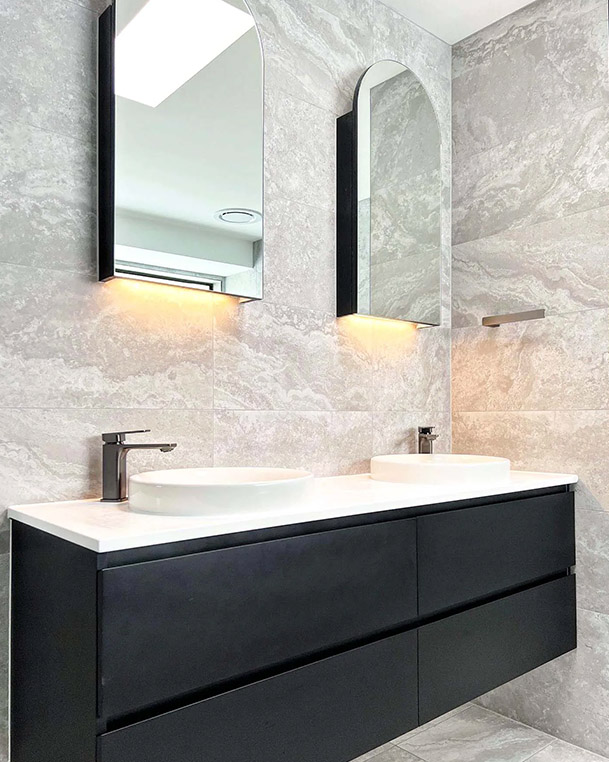
Renovating your bathroom can be a rewarding project that transforms your space into a relaxing and functional area. While it can seem like a daunting task, with the right plan and a bit of elbow grease, you can tackle it yourself. Here’s a comprehensive guide on the 10 essential steps in DIY bathroom renovation to help you achieve your dream bathroom.
1. Plan Your Renovation
The first step in any renovation is planning. Start by deciding what you want to achieve with your bathroom remodel. Will you be doing a complete overhaul, or just updating certain aspects like fixtures or tiling? Measure your space carefully and consider the layout to ensure your new design makes the most of the available area. Set a realistic budget, factoring in costs for materials, tools, and any unexpected expenses.
2. Demolition and Removal
Once you’ve completed your planning and gathered all the necessary materials, it’s time to begin the demolition. Start by removing any old fixtures, tiles, and accessories that need replacing. This includes taking out the toilet, sink, bathtub or shower, mirrors, and cabinetry. Be mindful of any plumbing or electrical connections, as these may need to be disconnected before removing fixtures.
3. Fix the Plumbing and Electrical Work
If your renovation involves repositioning or upgrading plumbing or electrical systems, now is the time to address these issues. Relocating pipes for a new shower or installing a new vanity may require expert assistance, especially if you’re moving significant plumbing fixtures. Make sure to adhere to local building codes and, if necessary, hire a licensed plumber or electrician to handle complicated tasks safely.
4. Prepare the Walls and Flooring
Before you start installing new materials, ensure your walls and flooring are properly prepared. If you’re replacing tiles, make sure the wall surface is clean and smooth. If you’re using a new type of flooring (e.g., vinyl or tile), you’ll need to ensure the subfloor is level and free of debris. For walls, consider using a moisture-resistant backer board if you’re tiling around a wet area like the shower or bathtub.
5. Install New Flooring
Start by installing your new flooring before adding fixtures. This ensures that the new flooring runs seamlessly under your toilet, vanity, and other bathroom fixtures. If you’re using tile, it’s important to apply the adhesive correctly and let the tiles set before grouting. For vinyl or laminate flooring, ensure the surface is clean and dry, and follow the manufacturer’s instructions carefully.
6. Tile the Walls
Next, move on to tiling the walls, especially if you’re installing new tiles around the shower or bathtub area. When tiling, be sure to use waterproof grout and adhesive to prevent water damage in the long run. Start tiling from the bottom and work your way up, ensuring that each tile is spaced correctly. Use tile spacers to maintain uniform grout lines, and don’t forget to leave room for expansion.
7. Install New Fixtures and Features
Once your walls and floors are complete, it’s time to install the new fixtures. Begin with the bathtub or shower, followed by the toilet, sink, and vanity. If you’re installing a new showerhead, faucets, or a towel rack, make sure to follow the manufacturer’s installation guidelines. Also, install any lighting or mirror features that you want as part of your bathroom renovation.
8. Add Fresh Paint
Painting the walls and ceiling can significantly change the look and feel of your bathroom. Choose a high-quality, moisture-resistant paint that can withstand the humidity of a bathroom. If you’re using an accent wall, make sure to prep the surface and use a primer to ensure even coverage. Be sure to let each coat of paint dry completely before applying a second coat if needed.
9. Install the Bathroom Accessories
Bathroom accessories like towel bars, storage shelves, and shower curtains or screens help to complete the space. Installing these accessories is a relatively easy step but requires precise measuring to ensure everything is placed at the right height and distance. Make sure your towel bars or hooks are securely fastened to the wall, especially if they’ll be supporting heavy towels.
10. Final Inspection and Cleaning
Before declaring your renovation complete, take the time to thoroughly inspect the bathroom to ensure everything is in place and working properly. Check the plumbing and electrical connections to make sure there are no leaks or issues. Once satisfied with the installation, clean your new bathroom thoroughly to remove dust, debris, and any construction materials left over from the renovation.
Conclusion
DIY bathroom renovation can be an enjoyable and fulfilling project that adds value to your home and improves your living space. If at any stage you run in to any issues or prefer to have a professional renovation company take a look, simply seek help along the way.
By following these 10 essential steps, you can transform your bathroom into a beautiful and functional retreat. Remember to take your time, plan carefully, and ensure that you have the right tools and skills before starting. With a bit of effort, your dream bathroom can be a reality!


